
This is a breakdown of how I painted the Pepunki Creatures Pirate: Captain Billy Quacks, one of the most technically ambitious minis I had tackled at that point. What made it interesting was not any single technique but how many different tools and approaches were needed to finish it, and how they had to work together rather than in sequence.
🎥 You can watch the video here: youtube.com/shorts/KYn2D-uyTNM
1. Colour theory first
Before touching the mini, I worked out the colour scheme using a Rectangle Tetradic structure. This takes four colours arranged as two complementary pairs on the colour wheel, giving you a wide colour range that still feels coordinated rather than random.
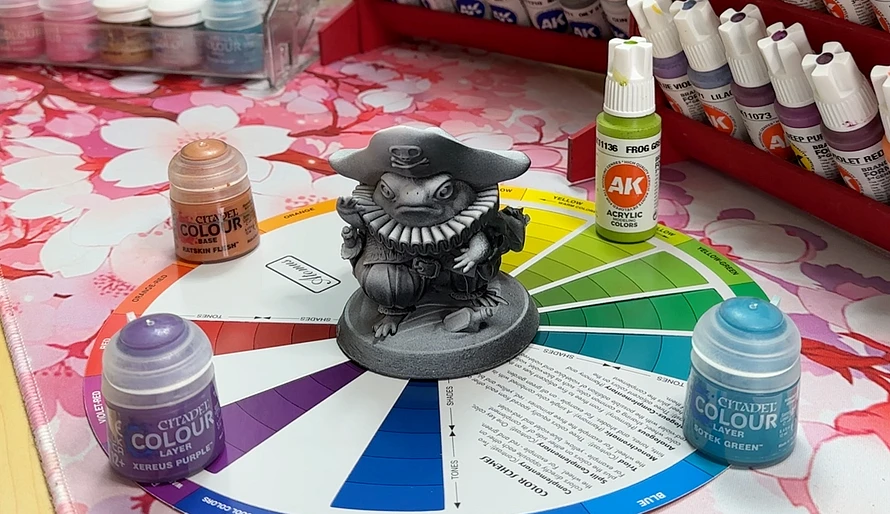
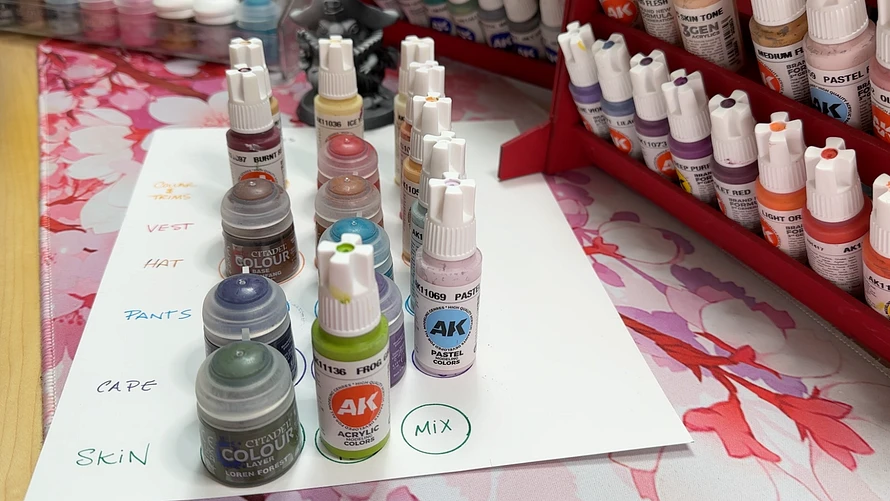
From those four colours I set up the full value range for each: a shade, a midtone, and a highlight. Doing this before starting means you are not making decisions mid-session about whether a colour is too warm or too cool. You already know where each one sits and what its job is.
2. Airbrush for colour transitions
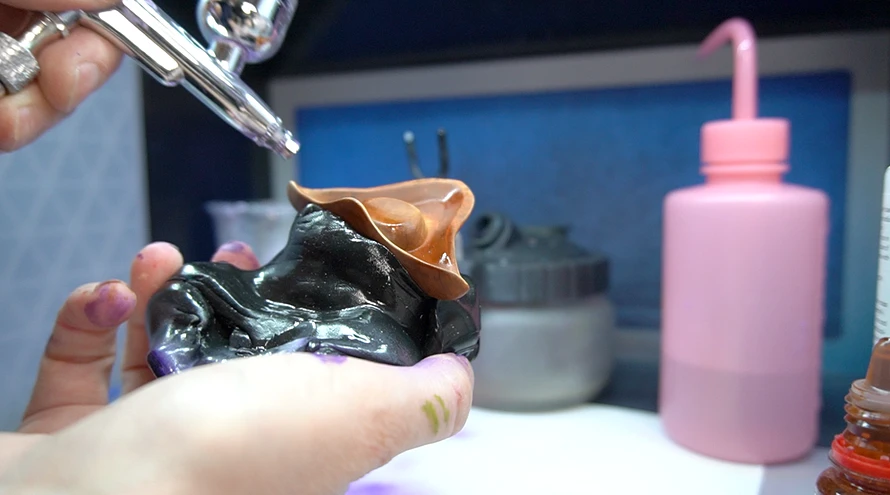
I used an airbrush for the broad basecoats and colour transitions across the larger surfaces: the cape, the pants, the hat, and the skin. Starting with the shadow colour, then working the midtone into the raised areas, then catching the highlights at the peaks. I used masking putty to cover up the painted areas as I progressed.
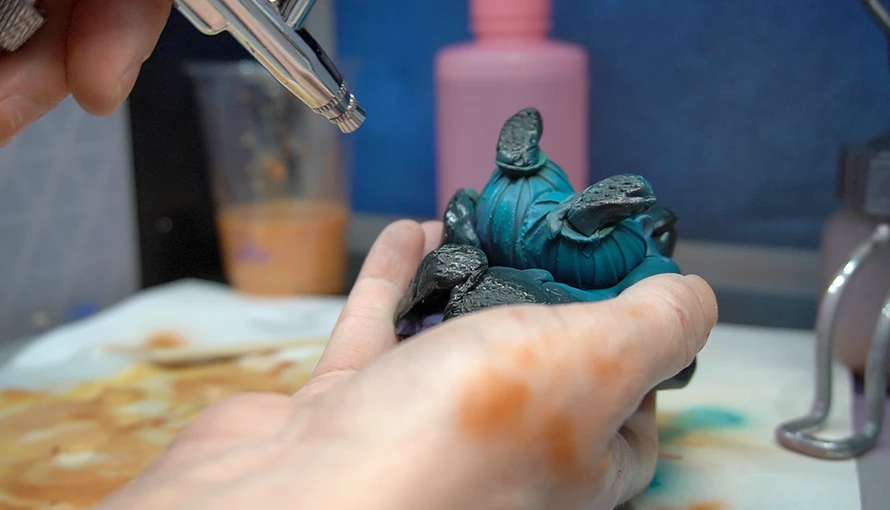
Paint thinning was still something I was figuring out. I got one mix too thin on the face and the paint ran into the details. I cleaned it up and restarted that section. Tip dry was also a problem mid-session, and at one point I had a nozzle clog that sent highlight paint scattering like glitter. These are not disasters, just part of airbrushing. You stop, clean, adjust, and keep going.
3. Brush for texture and character
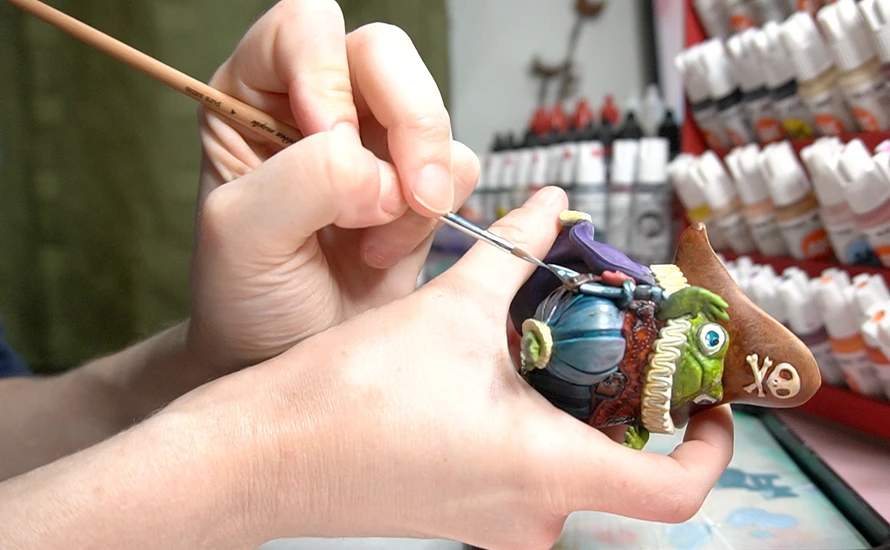
The airbrush is good at smooth transitions and coverage, but it cannot do the close detail work like textures, lace, or small buttons.
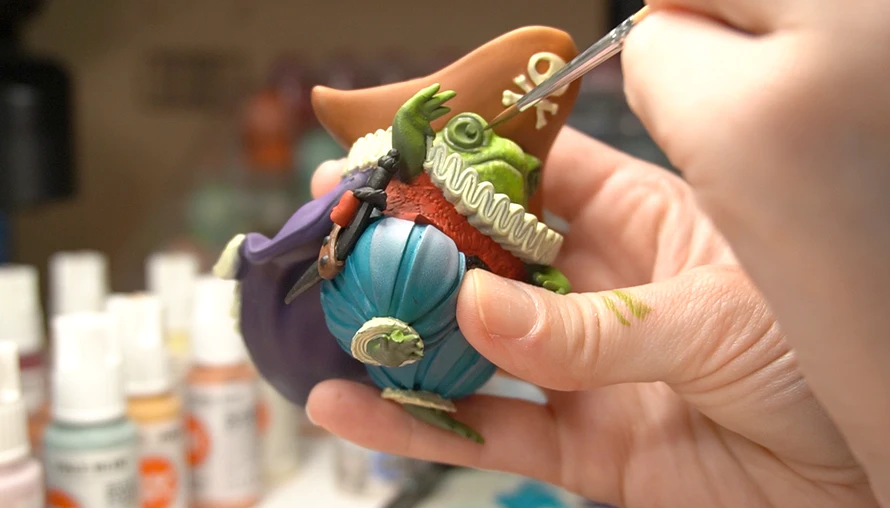
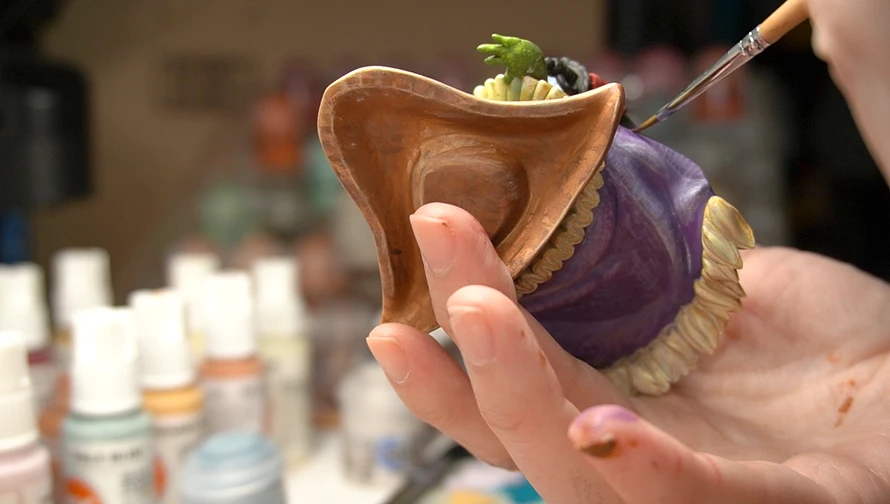
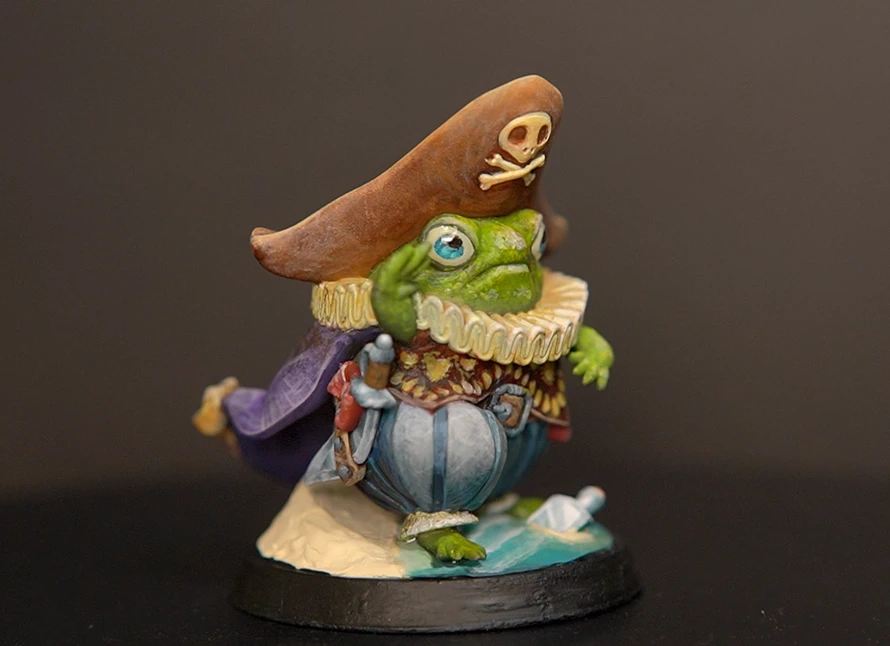
The skin texture came from stippling. Gently using the brush tip and very little paint, I dabbed a series of small dots across the skin surfaces to build up a rough, leathery texture.
For the leather hat, I painted marks, scratches, and damage, then used contrast paint to push the weathering further. I painted a pattern of worn fabric texture on the cape and pants, involving layering, painting strands, and sponging contrast paint.
For the collar, I added yellowing and staining using diluted yellows and browns, working wet into wet (wet blending) to keep the transitions soft.
The sword got a pass of Non-Metallic Metal, painting the reflection using just light and dark paint rather than any metallic pigment. Placing the highlights on the edges and letting the rest drop into shadow.
I pulled the airbrush back out to add ink-based contrast into the deeper recesses of the hat and to push the shadows further once the brush work was mostly done. Going back to the airbrush at this stage, after the details are in, lets you unify the contrast across the whole mini without redoing the detail work.
4. UV resin for the eyes and water
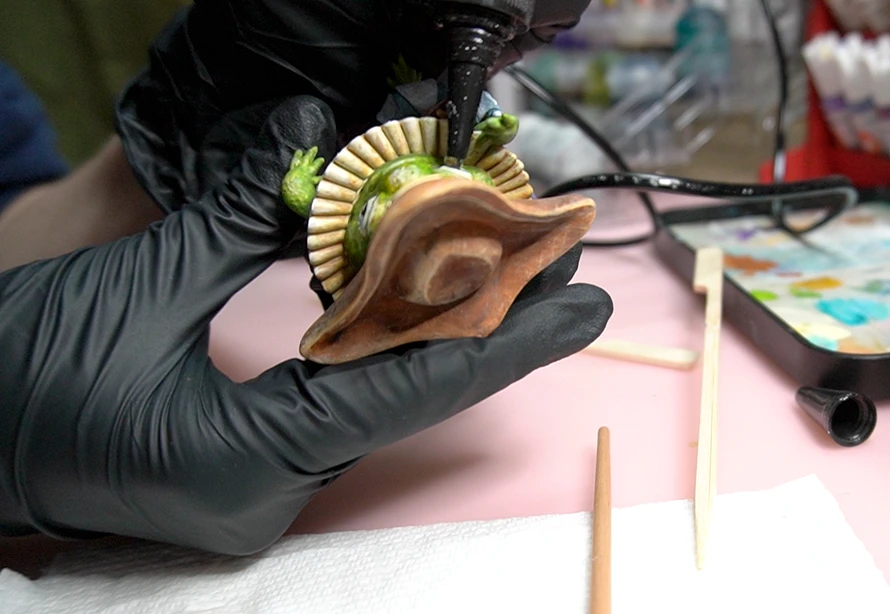
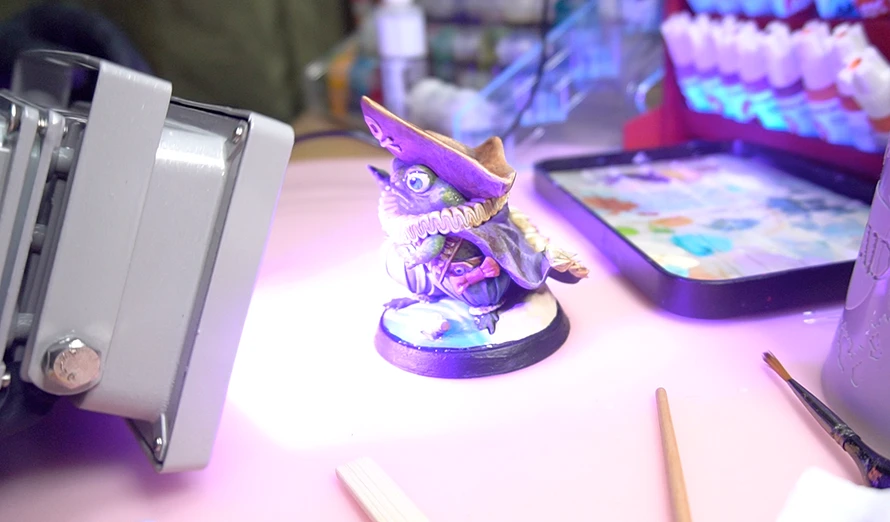
The eyes of this mini are hollow. When I noticed that during the painting session, I immediately wanted to use UV resin to fill them. Clear UV resin catches light in hollow spaces in a way that paint cannot replicate, and the effect on eyes specifically is striking.
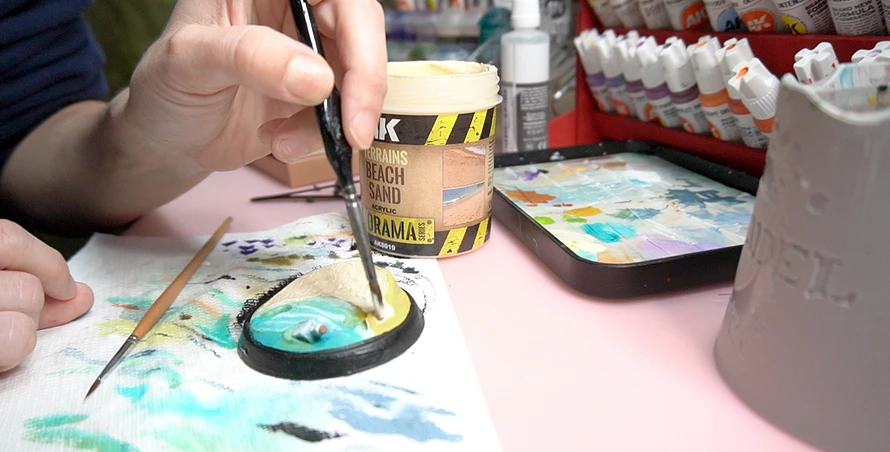
The base is a sandy beach shore with white wave edges. After painting the sand and water tones, I applied AK Interactive terrain beach sand for texture. Then I poured a thin layer of UV resin over the water area, which gave it a wet, reflective surface that matched the painted finish underneath. The resin layer unified the water in a way that paint alone would not have.
The actual takeaway
The workflow on this mini was not linear. I went back and forth between airbrush and brush multiple times, layering effects and going back into areas to increase contrast and weathering.
The single biggest shift in how this mini turned out versus earlier ones was committing to textures. Stippled skin, weathered fabric, sponged staining. Each one takes more time than a clean basecoat and highlight, but the result reads completely differently.
The full toolkit and more painting resources are at couplecraftsminis.com/pages/start-here.