
A sticky trigger, sluggish needle movement, or air that leaks when it should not are often signs that your airbrush needs lubrication rather than a deep clean. This is a quick maintenance step that most airbrush owners skip until something starts feeling off.
When your airbrush needs lubrication
The most common signals are a trigger that feels stiff or catches when you press it, a needle that does not move smoothly when you pull back, slight air leaking around the trigger area, or general inconsistency in the spray that cleaning alone does not fix.
One thing worth knowing: if you soak your airbrush as part of a deep clean, the soaking process removes a lot of the lubricant from the internal parts. That means a deep clean is always a good moment to follow up with lubrication.
What you need
A dedicated airbrush needle lubricant or a PTFE-based lubricant for the air valve and moving parts, ideally sicilon-free. Do not use WD-40 or general-purpose oils as they can damage the seals inside the airbrush.
The 6-step lubrication process
Step 1. Take your airbrush apart. Disassemble it the same way you would for a deep clean: remove the handle, needle chucking nut, needle, and the front assembly including the nozzle cap, air cap, and nozzle. Lay the pieces out in order so reassembly is straightforward. If you want to know more about airbrush parts, check out this post.
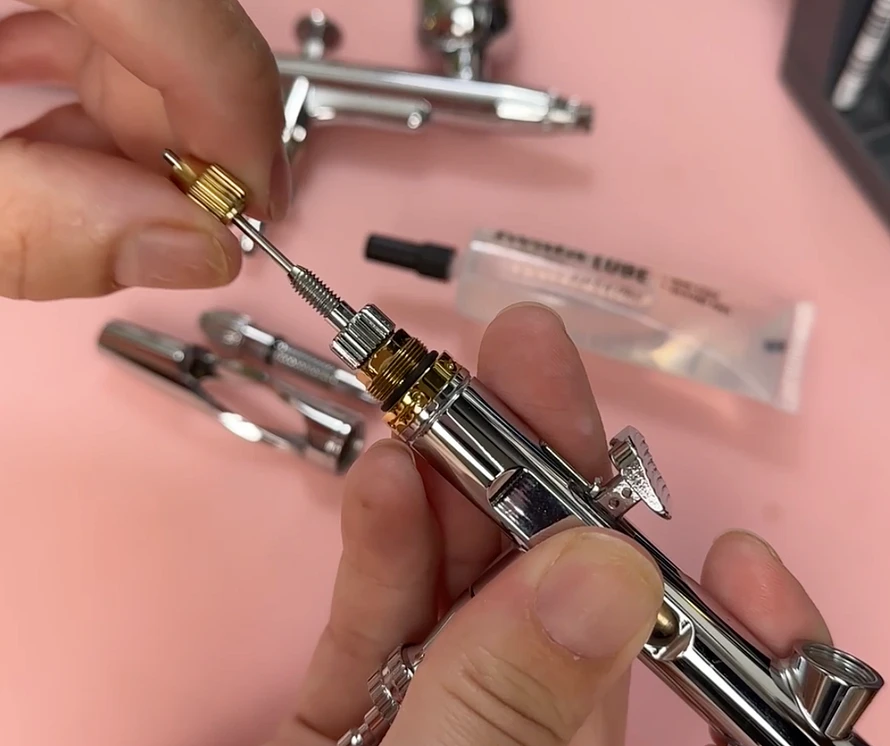
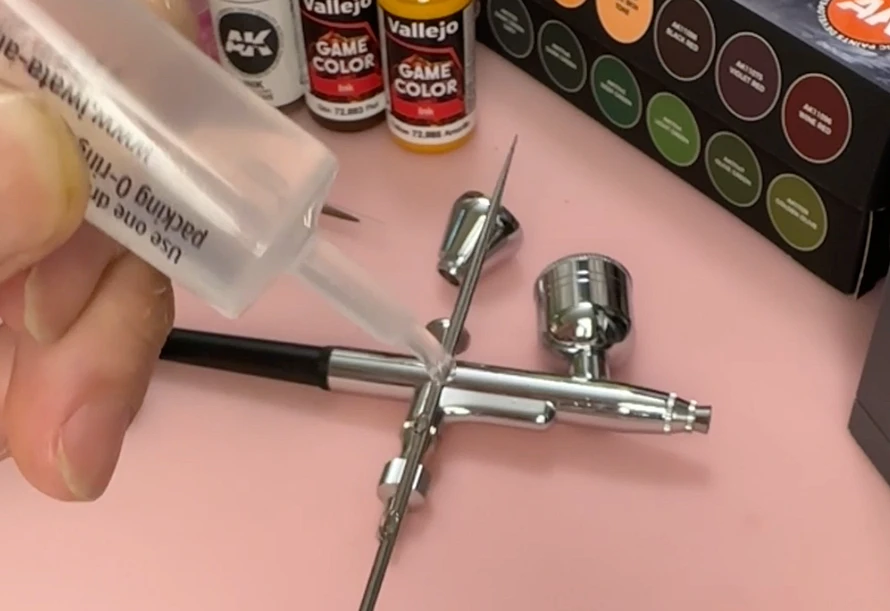
Step 2. Start with the air valve. Apply a small amount of lubricant to the air valve at the bottom of the airbrush body. This is the component the trigger presses down on to release air, and it is a common source of stiffness. A small drop is enough.
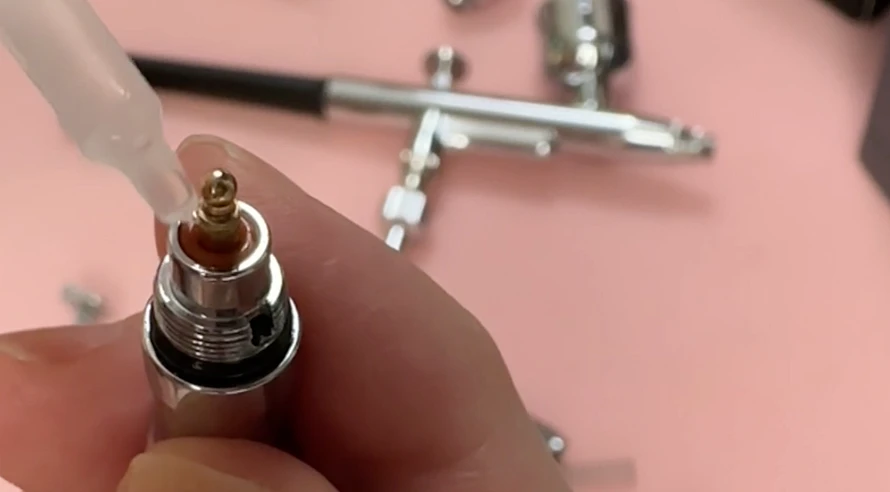
Step 3. Lubricate all other moving parts. Work through any other components that move against each other, including the trigger pivot point and any internal guides. A light application on contact surfaces is all you need.
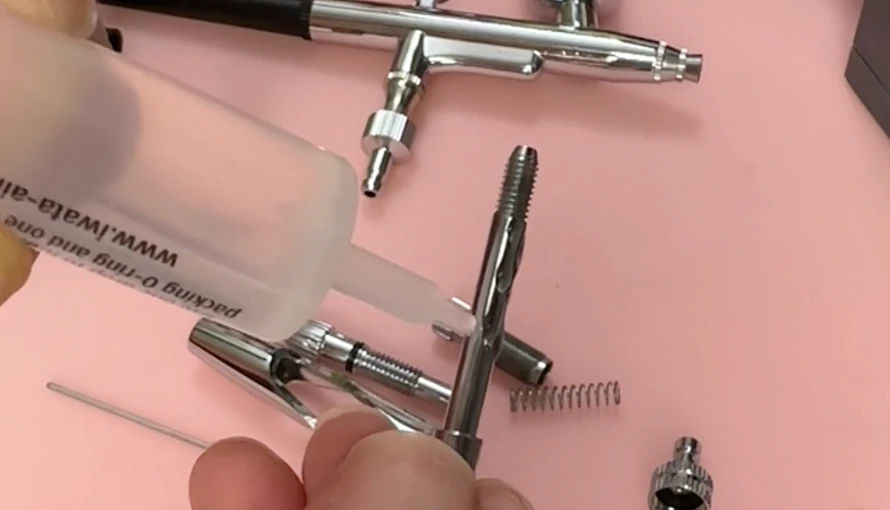
Step 4. Lubricate the screw threads. Apply a thin layer to any screw threads, including the needle chucking nut and the nozzle threads. This makes reassembly smoother and protects the threads over time.
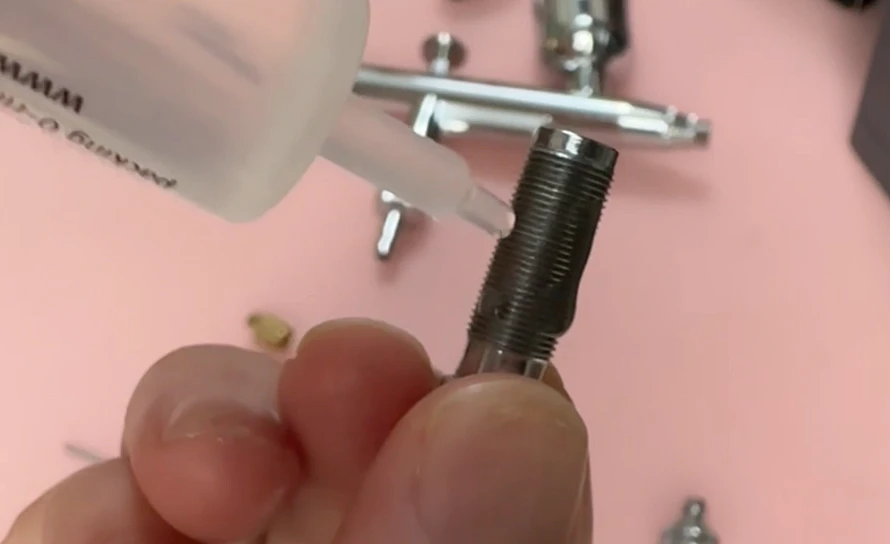
Step 5. Lubricate the front half of the needle. Apply a very small amount of lubricant to the front half of the needle, roughly the section that sits inside the nozzle assembly. Wipe off any excess. Too much lubricant on the needle can cause paint adhesion issues.
Step 6. Reassemble. Put everything back together in reverse order. The trigger and needle movement should immediately feel noticeably smoother.
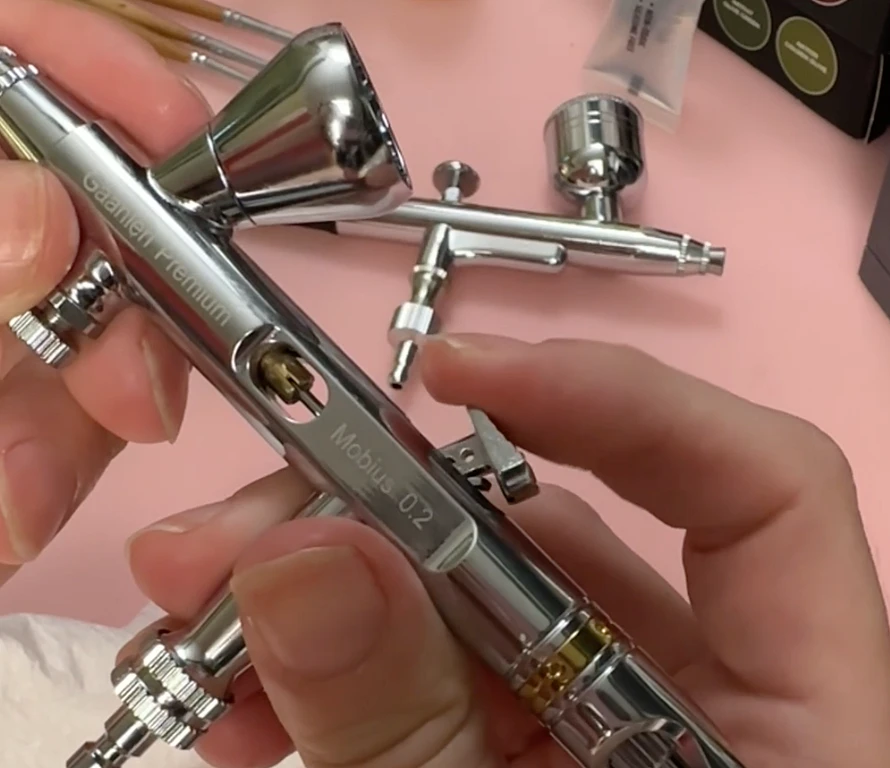
The process is similar across most dual-action airbrush models, so these steps apply whether you are working with a beginner setup or a higher-end model.
If you want the full airbrush cheat sheet covering tools, workflow, techniques, and troubleshooting, you can check out this article.
And if you want to browse the full toolkit we use, it is all listed at couplecraftsminis.com/pages/our-toolkit.